Managing Projects
First step in using PowerDesk is to create a new project, or load an existing one. Both actions are available from the Ribbon Menu of the Main Window.
Creating a New Project
The new project is created by invoking the New Project command, which invokes the New Project Dialog.
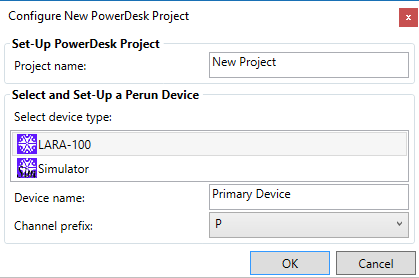
New Project Dialog with default properties.
The new project dialog enables specification of the project name, the device type, assigning the name of the device and a one-letter prefix to be used for data channels associated to the newly configured device.
Since it is possible to be simultaneously connected to two different devices, the device name enables distinguishing between them. Channel prefix is used for the same purpose, in order to make distinction between channels originating from the two devices.
There are two possible device types, LARA-100 and Simulator. The simulator is useful for familiarizing with the software. Whenever one desires to communicate with the actual device, one should choose LARA-100.
Note that in this point we do not make connection to any particular physical device. We only choose the type of the device. The connection attempt will be made after.
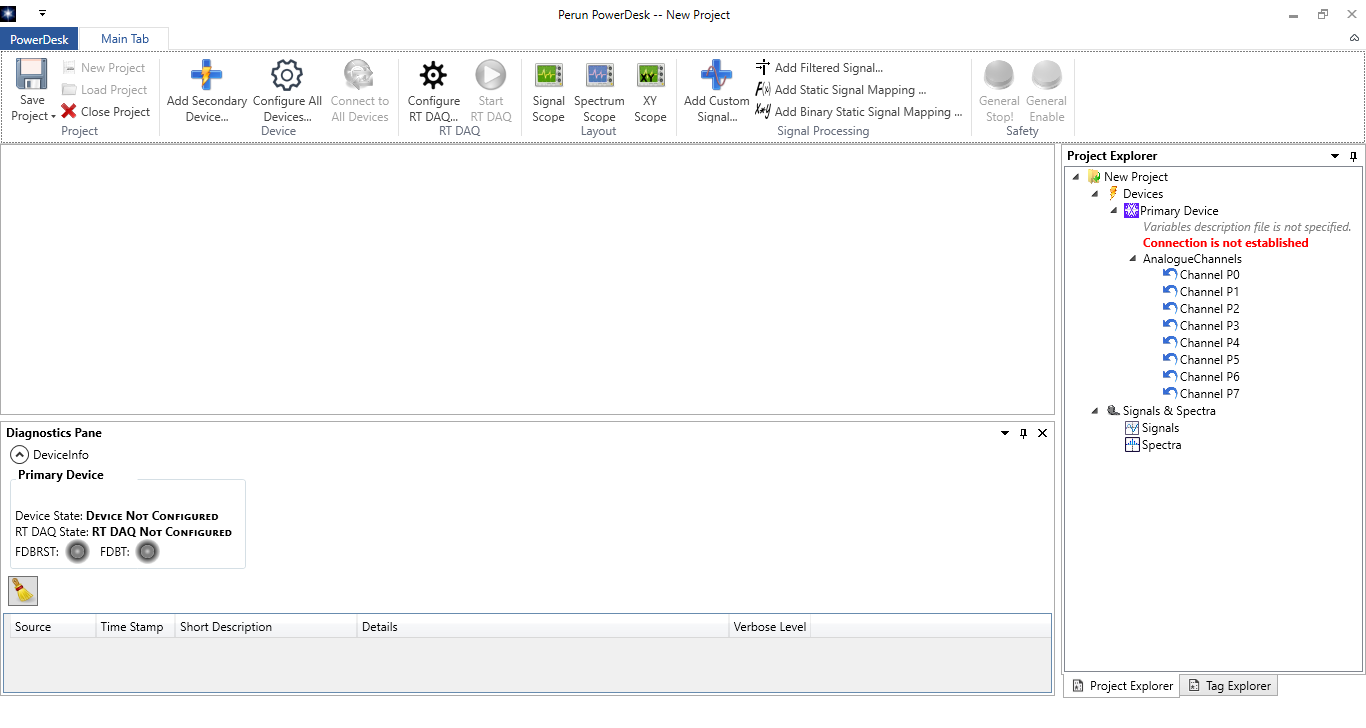
The look of the PowerDesk Main Window after a new project has been created.
Saving and Loading Projects
Projects can be load from a file, or saved to a file, by invoking appropriate commands from the Main Window Ribbon Menu. PowerDesk projects are stored in files having extension PDP, which is short of PowerDesk Project. Internally, it is just an XML file with an appropriate schema.
When saving and restoring projects, all aspects of the user workspace are preserved and restored, including layout of the panes, content of the scopes, properties of the channels and variables, etc.